

Workspaces
A workspace is the top-level home for your team in Retask. It holds your projects, your people, your integrations, and your billing. Most teams need only one. If you work with several separate clients or companies, you might keep one workspace each so their work never mixes.
You switch between the workspaces you belong to using the switcher at the top of the screen (it shows the current workspace name, like “NWEB Corp”).
Create and configure a workspace
Section titled “Create and configure a workspace”You create your first workspace when you sign up. To create another, use the workspace switcher and choose Create workspace.
Each workspace has a few basic details you can change any time under Settings → General:
- Name — what your team sees in the switcher and at the top of the app.
- Color — a quick visual marker, handy if you belong to several workspaces.
- Description — an optional note about what the workspace is for.
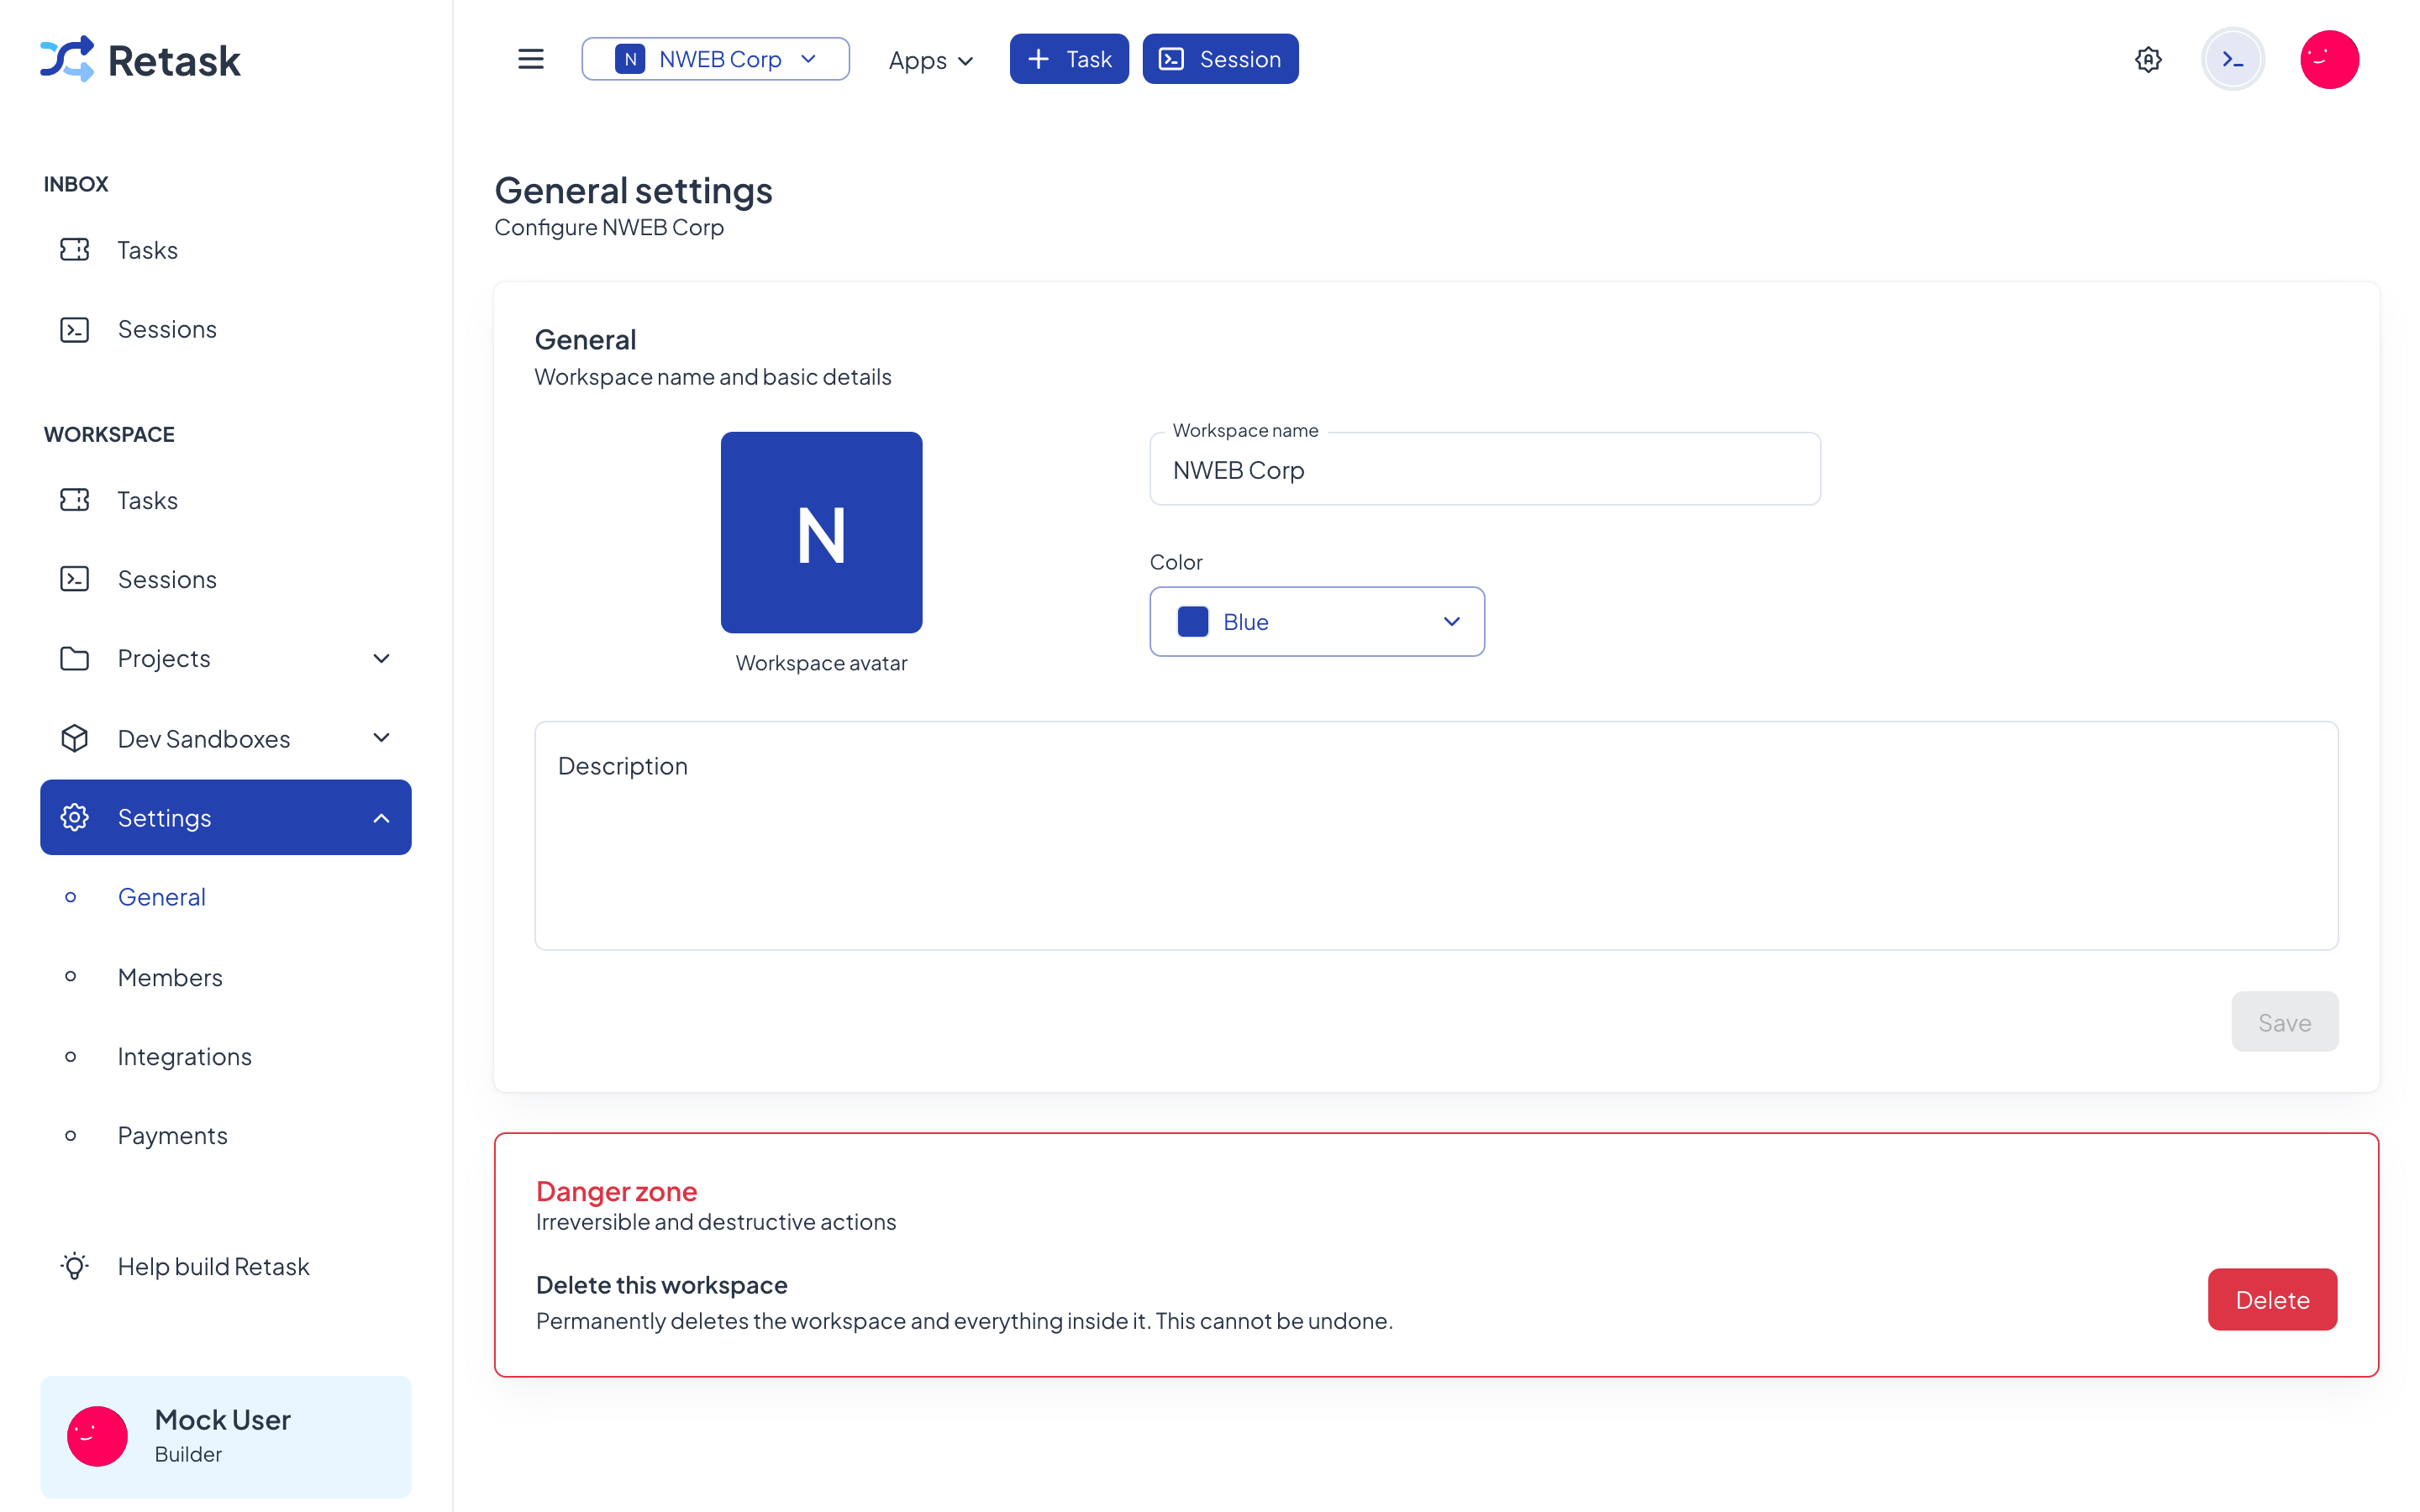
Open Settings → General, edit the fields, and click Save.
retask workspace create --name "My Team"retask workspace update <id> --name "New Name" --color blueMembers
Section titled “Members”Members are the people you invite into the workspace. Manage them under Settings → Members, which has three tabs:
- Members — the people in your workspace and their roles.
- Agents — your AI Agents (covered in the Agents guide).
- Invitations — people you’ve invited who haven’t joined yet.
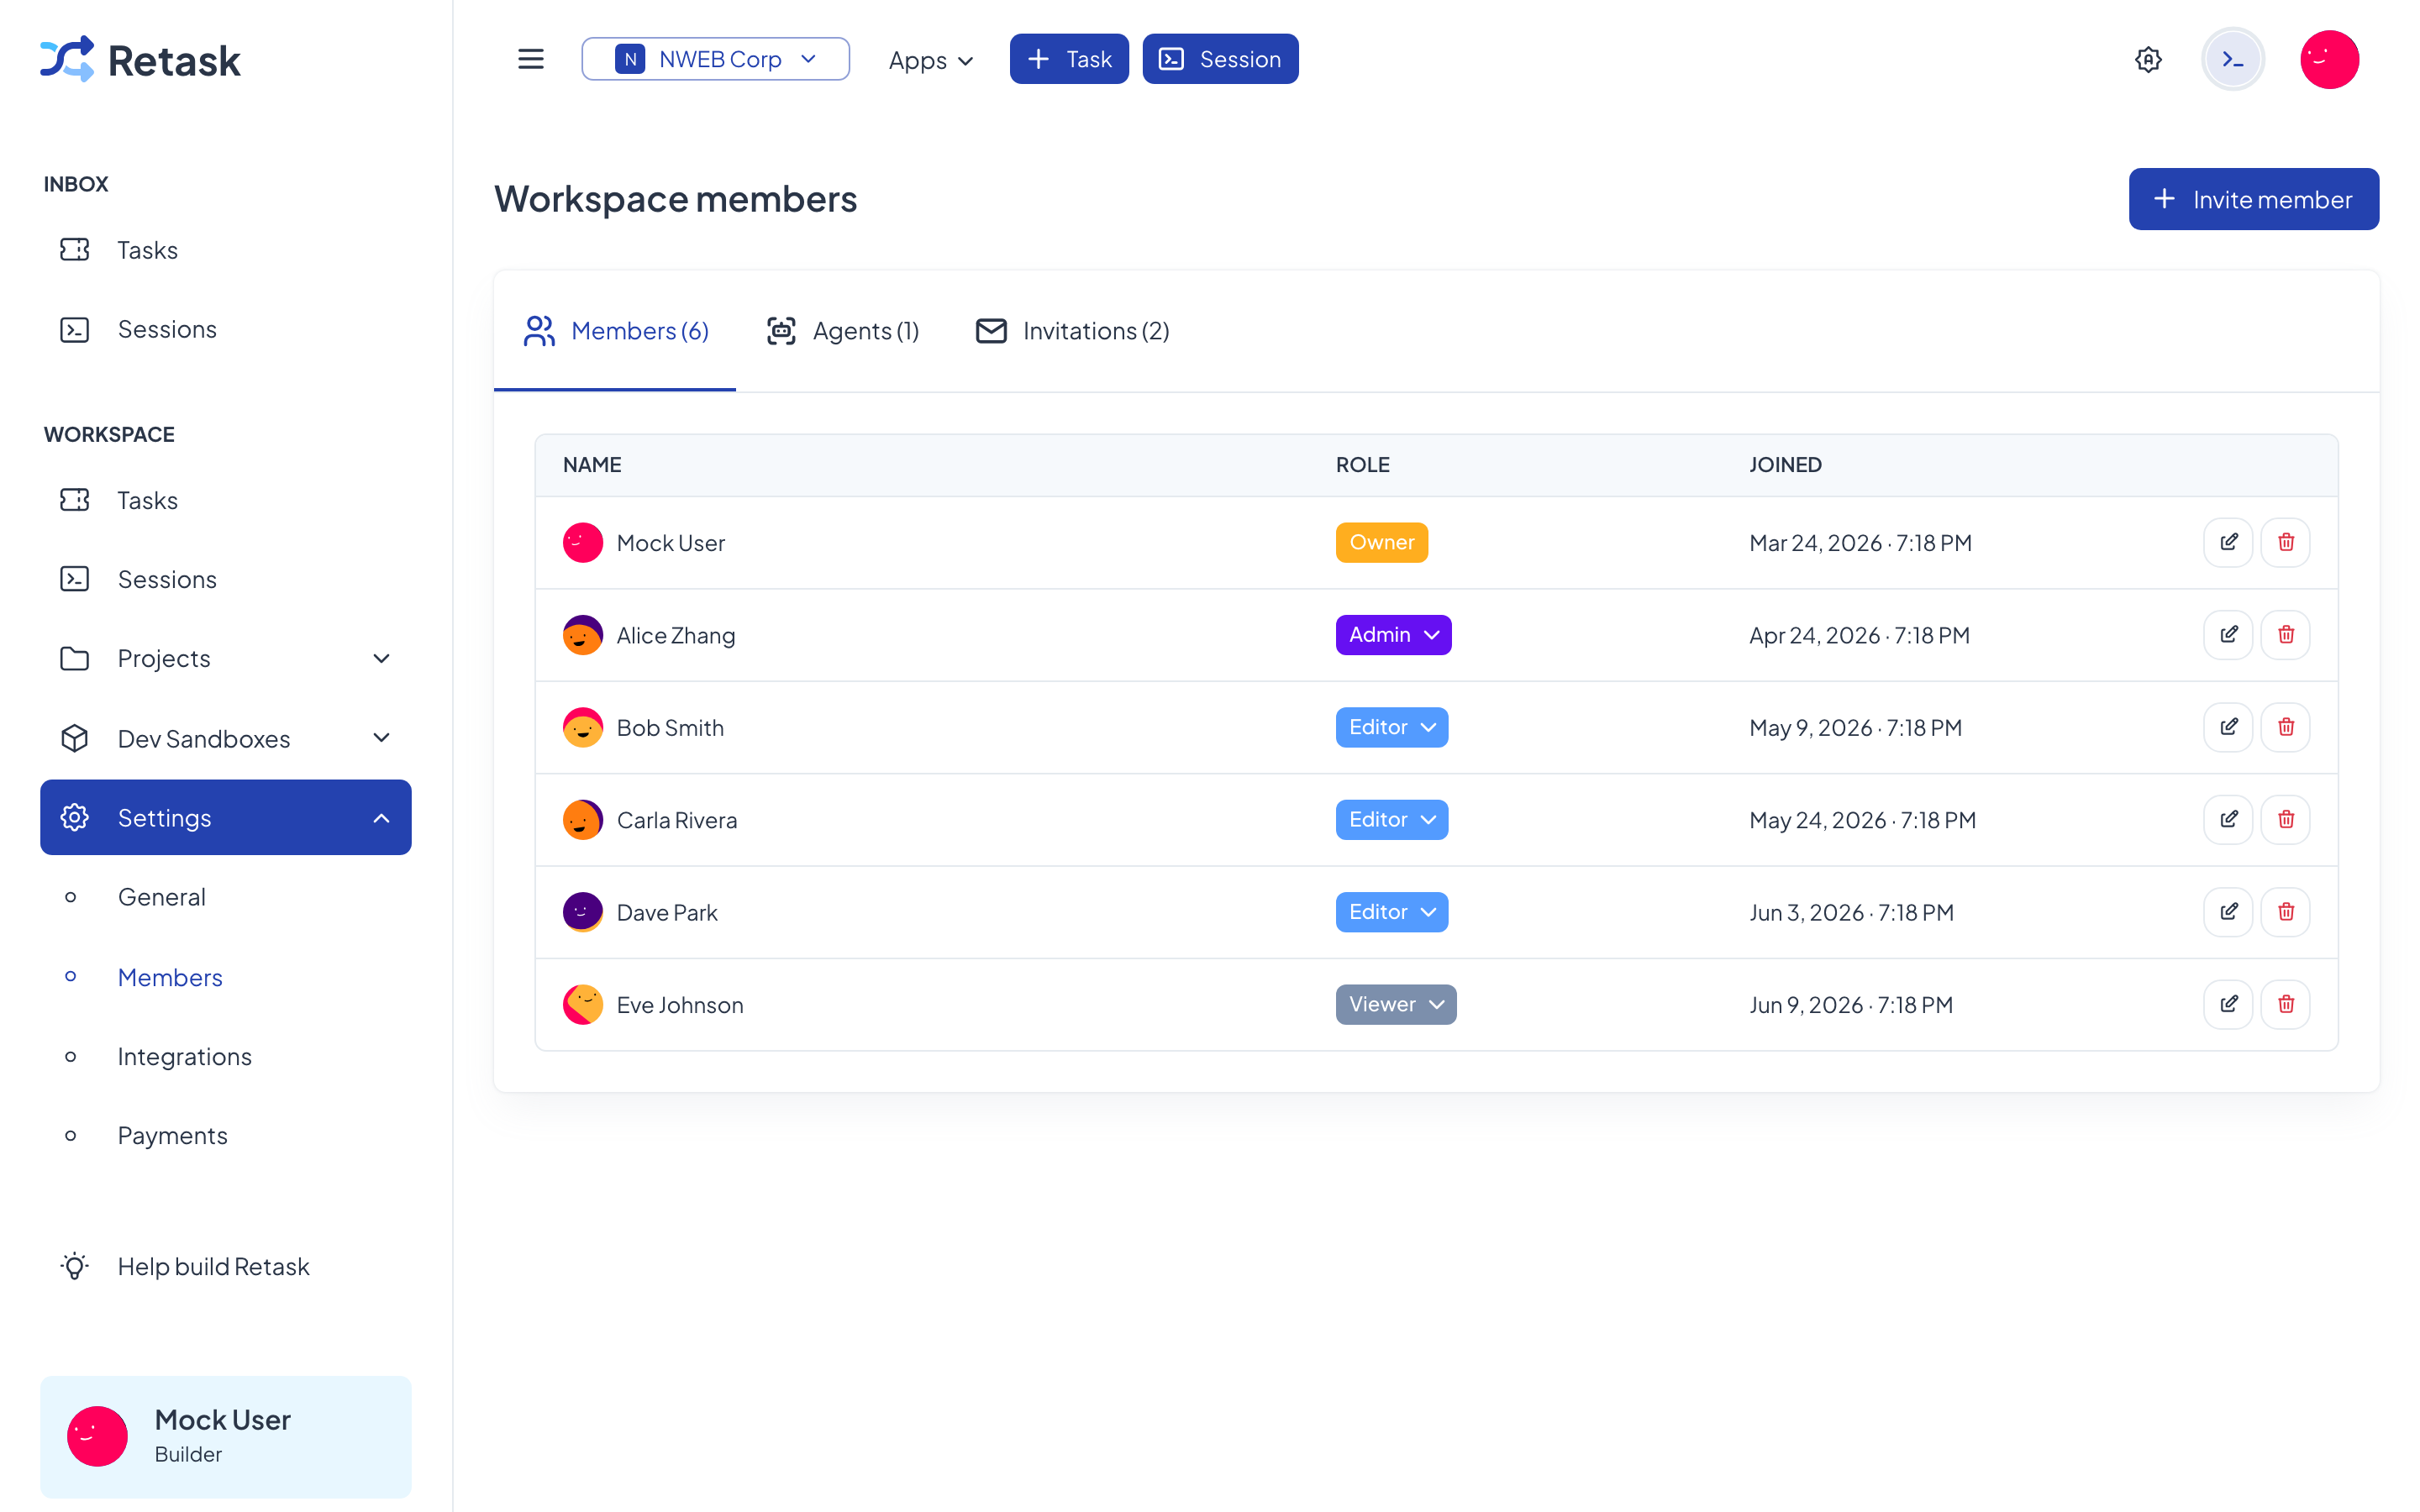
To invite someone, click Invite member, enter their email, and pick a role. They’ll get an invitation and show up under Invitations until they accept.
Roles and permissions
Section titled “Roles and permissions”Every member has one role. Higher roles can do everything the lower ones can, plus more.
| Role | View work | Create & edit tasks/projects | Manage members & settings | Billing & delete workspace |
|---|---|---|---|---|
| Viewer | ✓ | — | — | — |
| Editor | ✓ | ✓ | — | — |
| Admin | ✓ | ✓ | ✓ | — |
| Owner | ✓ | ✓ | ✓ | ✓ |
Deleting a workspace
Section titled “Deleting a workspace”Deleting a workspace is permanent — it removes every project, task, and setting inside it, and it can’t be undone. Only an Owner can do this, from the Danger zone at the bottom of Settings → General.