

Getting started
This guide takes you from a brand-new account to a working project with people and an AI Agent on it. No coding required — everything here happens in the app.
If any of the words below are unfamiliar (workspace, project, task, agent), the Concepts page explains them all in plain language. It’s a useful five-minute read before you start.
1. Create your workspace
Section titled “1. Create your workspace”A workspace is your whole account — it holds your people, projects, and settings.
-
Go to app.retask.work and sign in.
-
Create a workspace and give it a name (your company or team name works well).
-
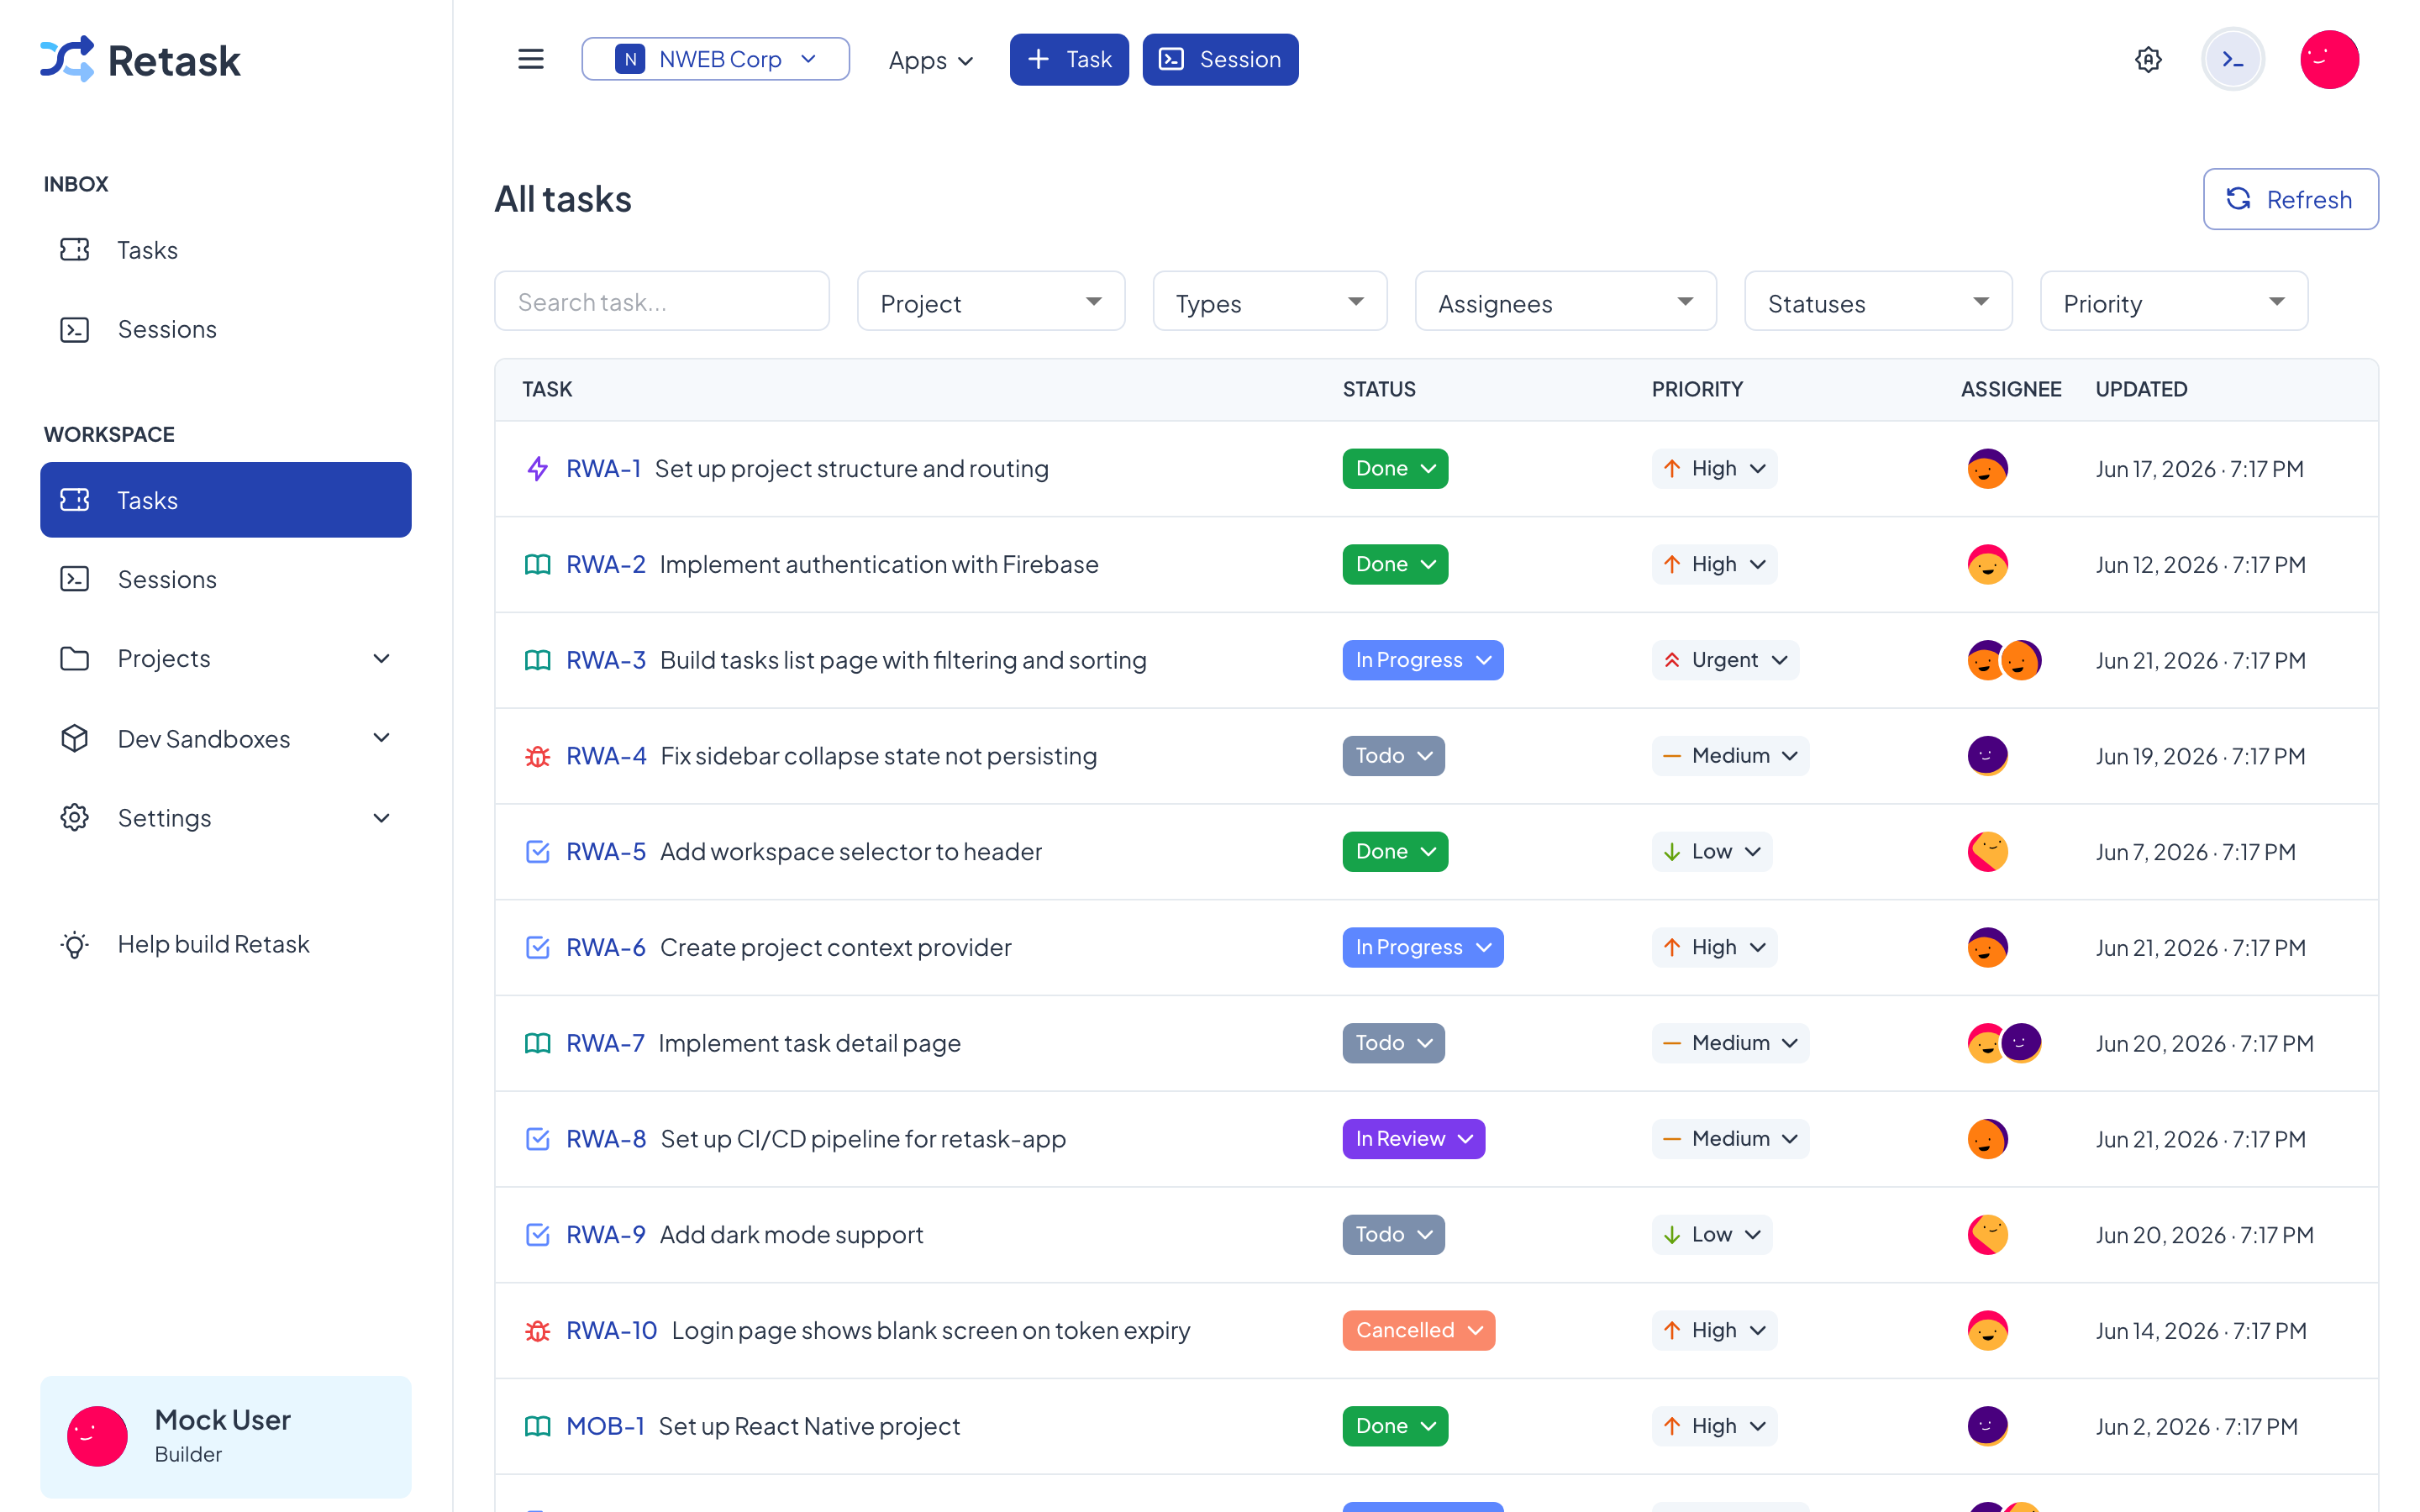
You’ll land in the workspace, with the name shown in the switcher at the top.
2. Create your first project
Section titled “2. Create your first project”A project groups related work — usually one per app, product, or area.
Open Projects in the sidebar, click New project, give it a name (for example, “Website”), and you’ll land on an empty Kanban board ready for tasks.
# Authenticate once, then create a projectretask auth loginretask project create --name "Website"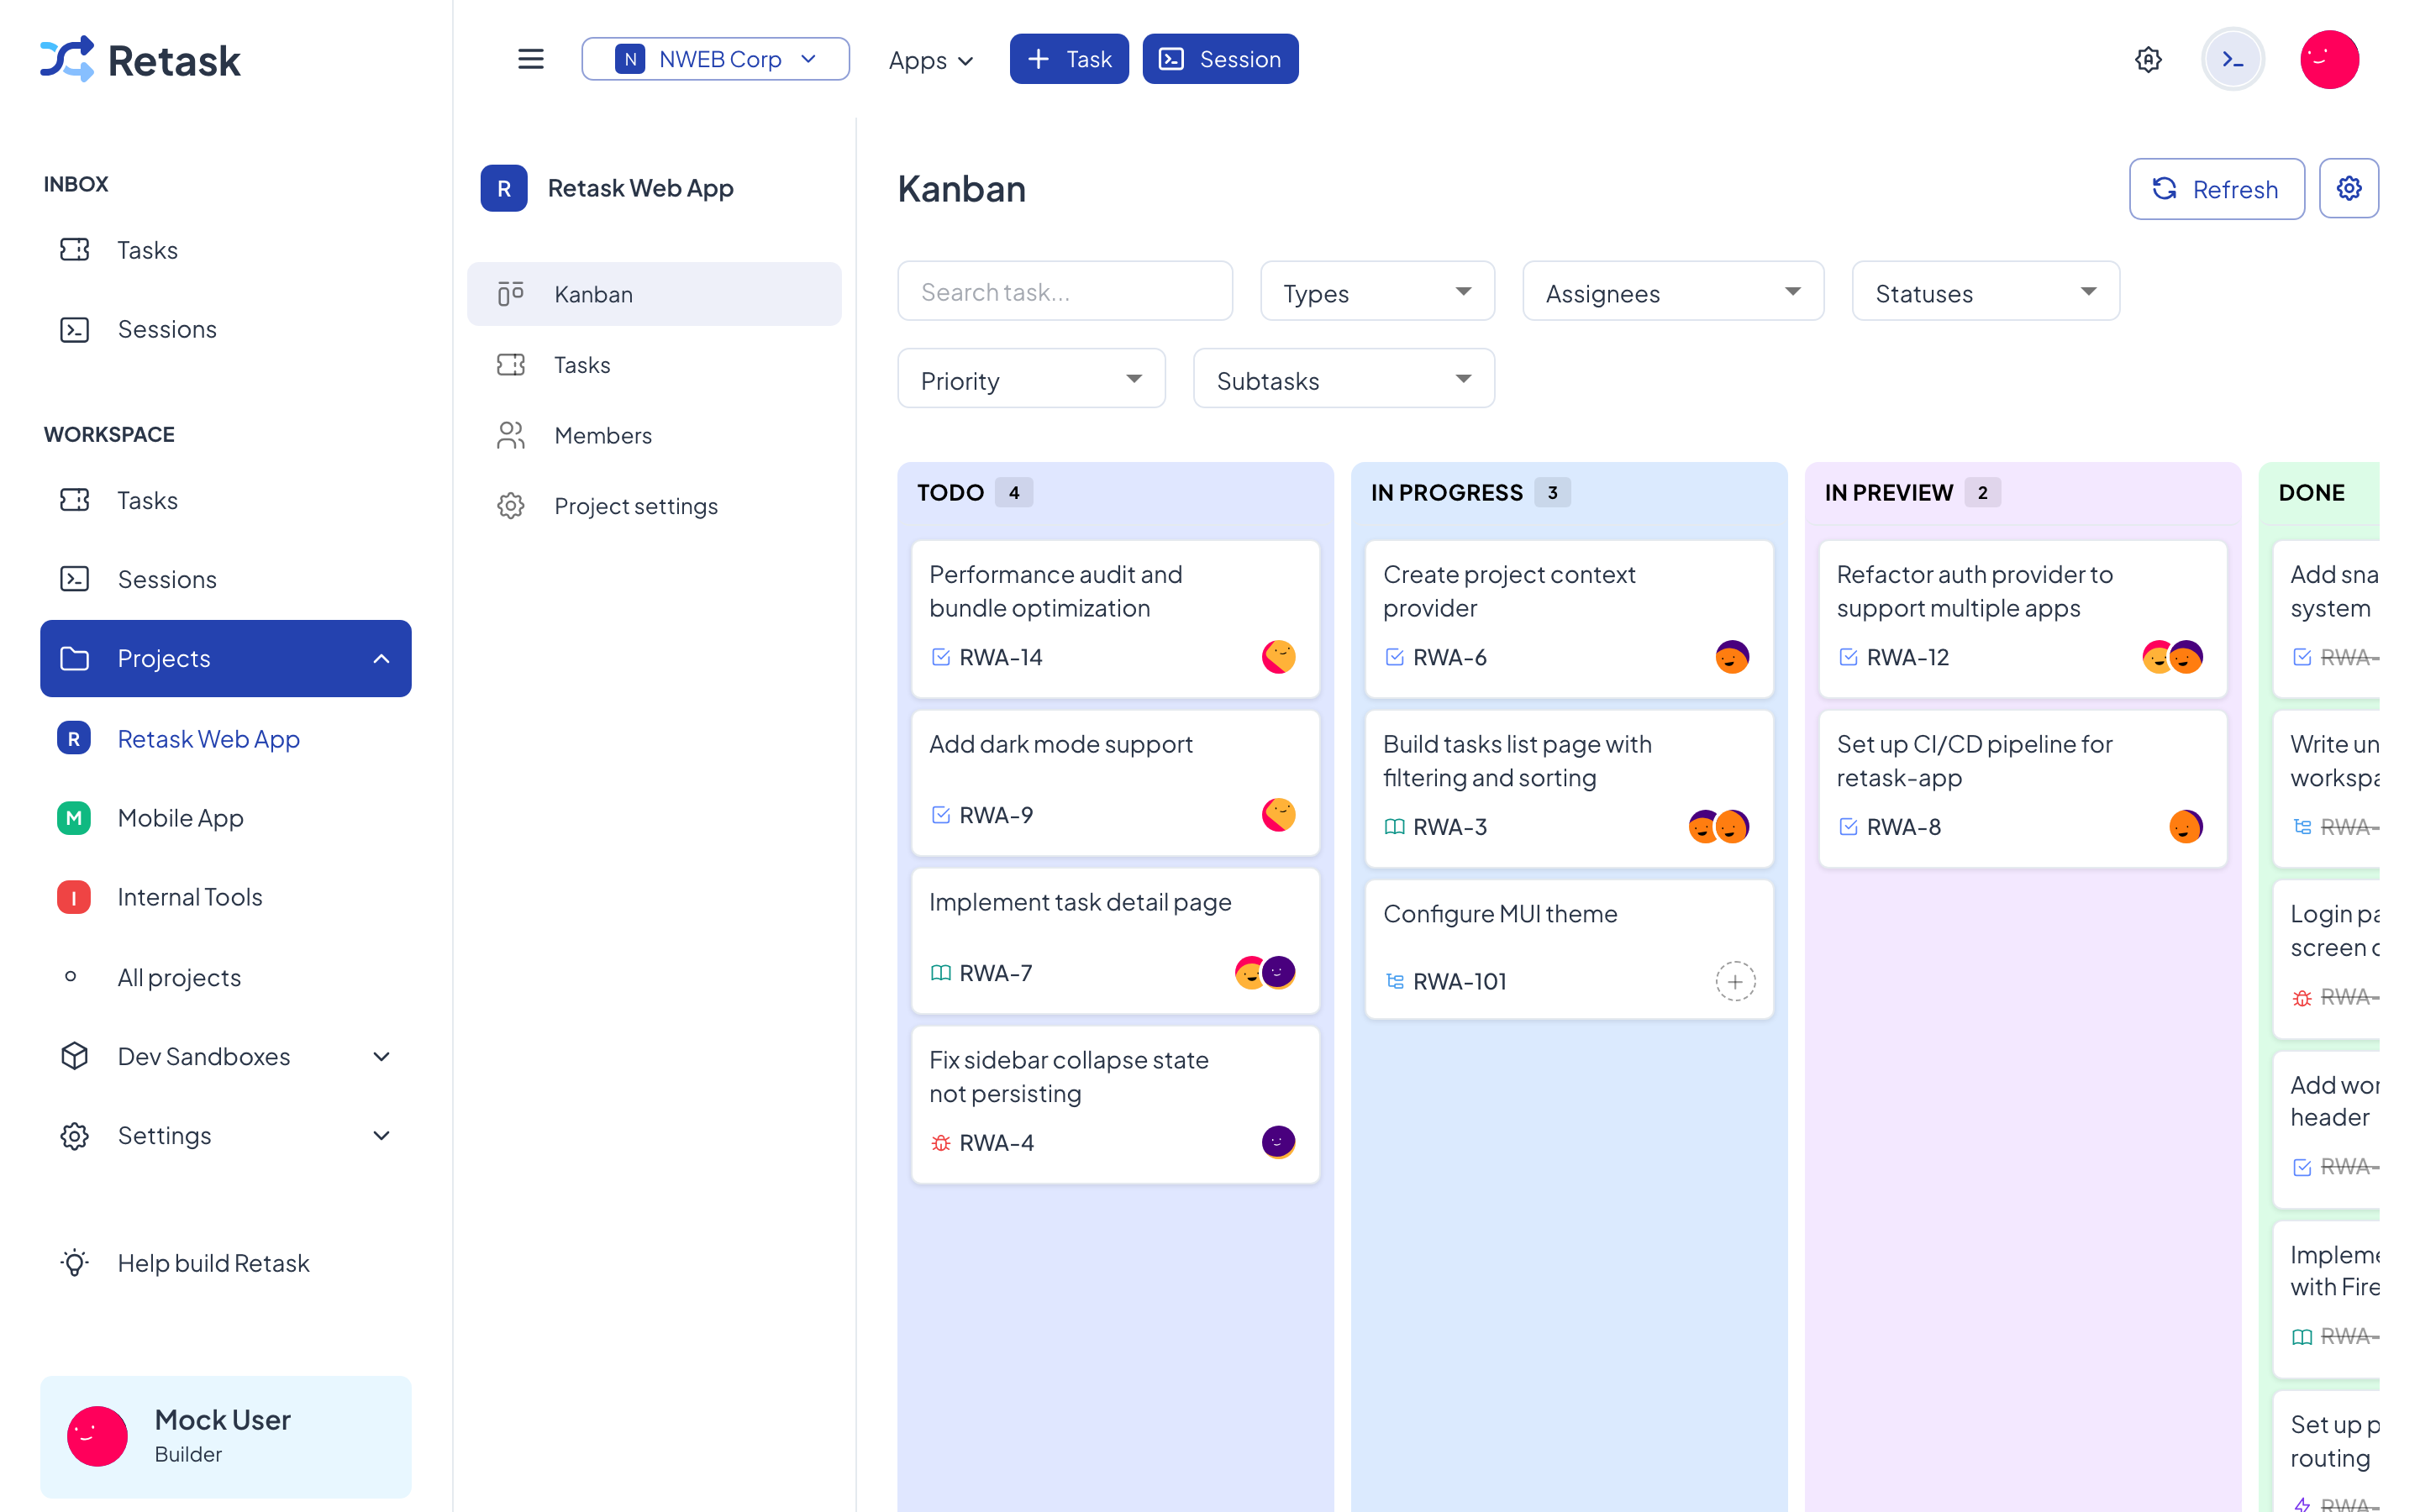
3. Invite your team
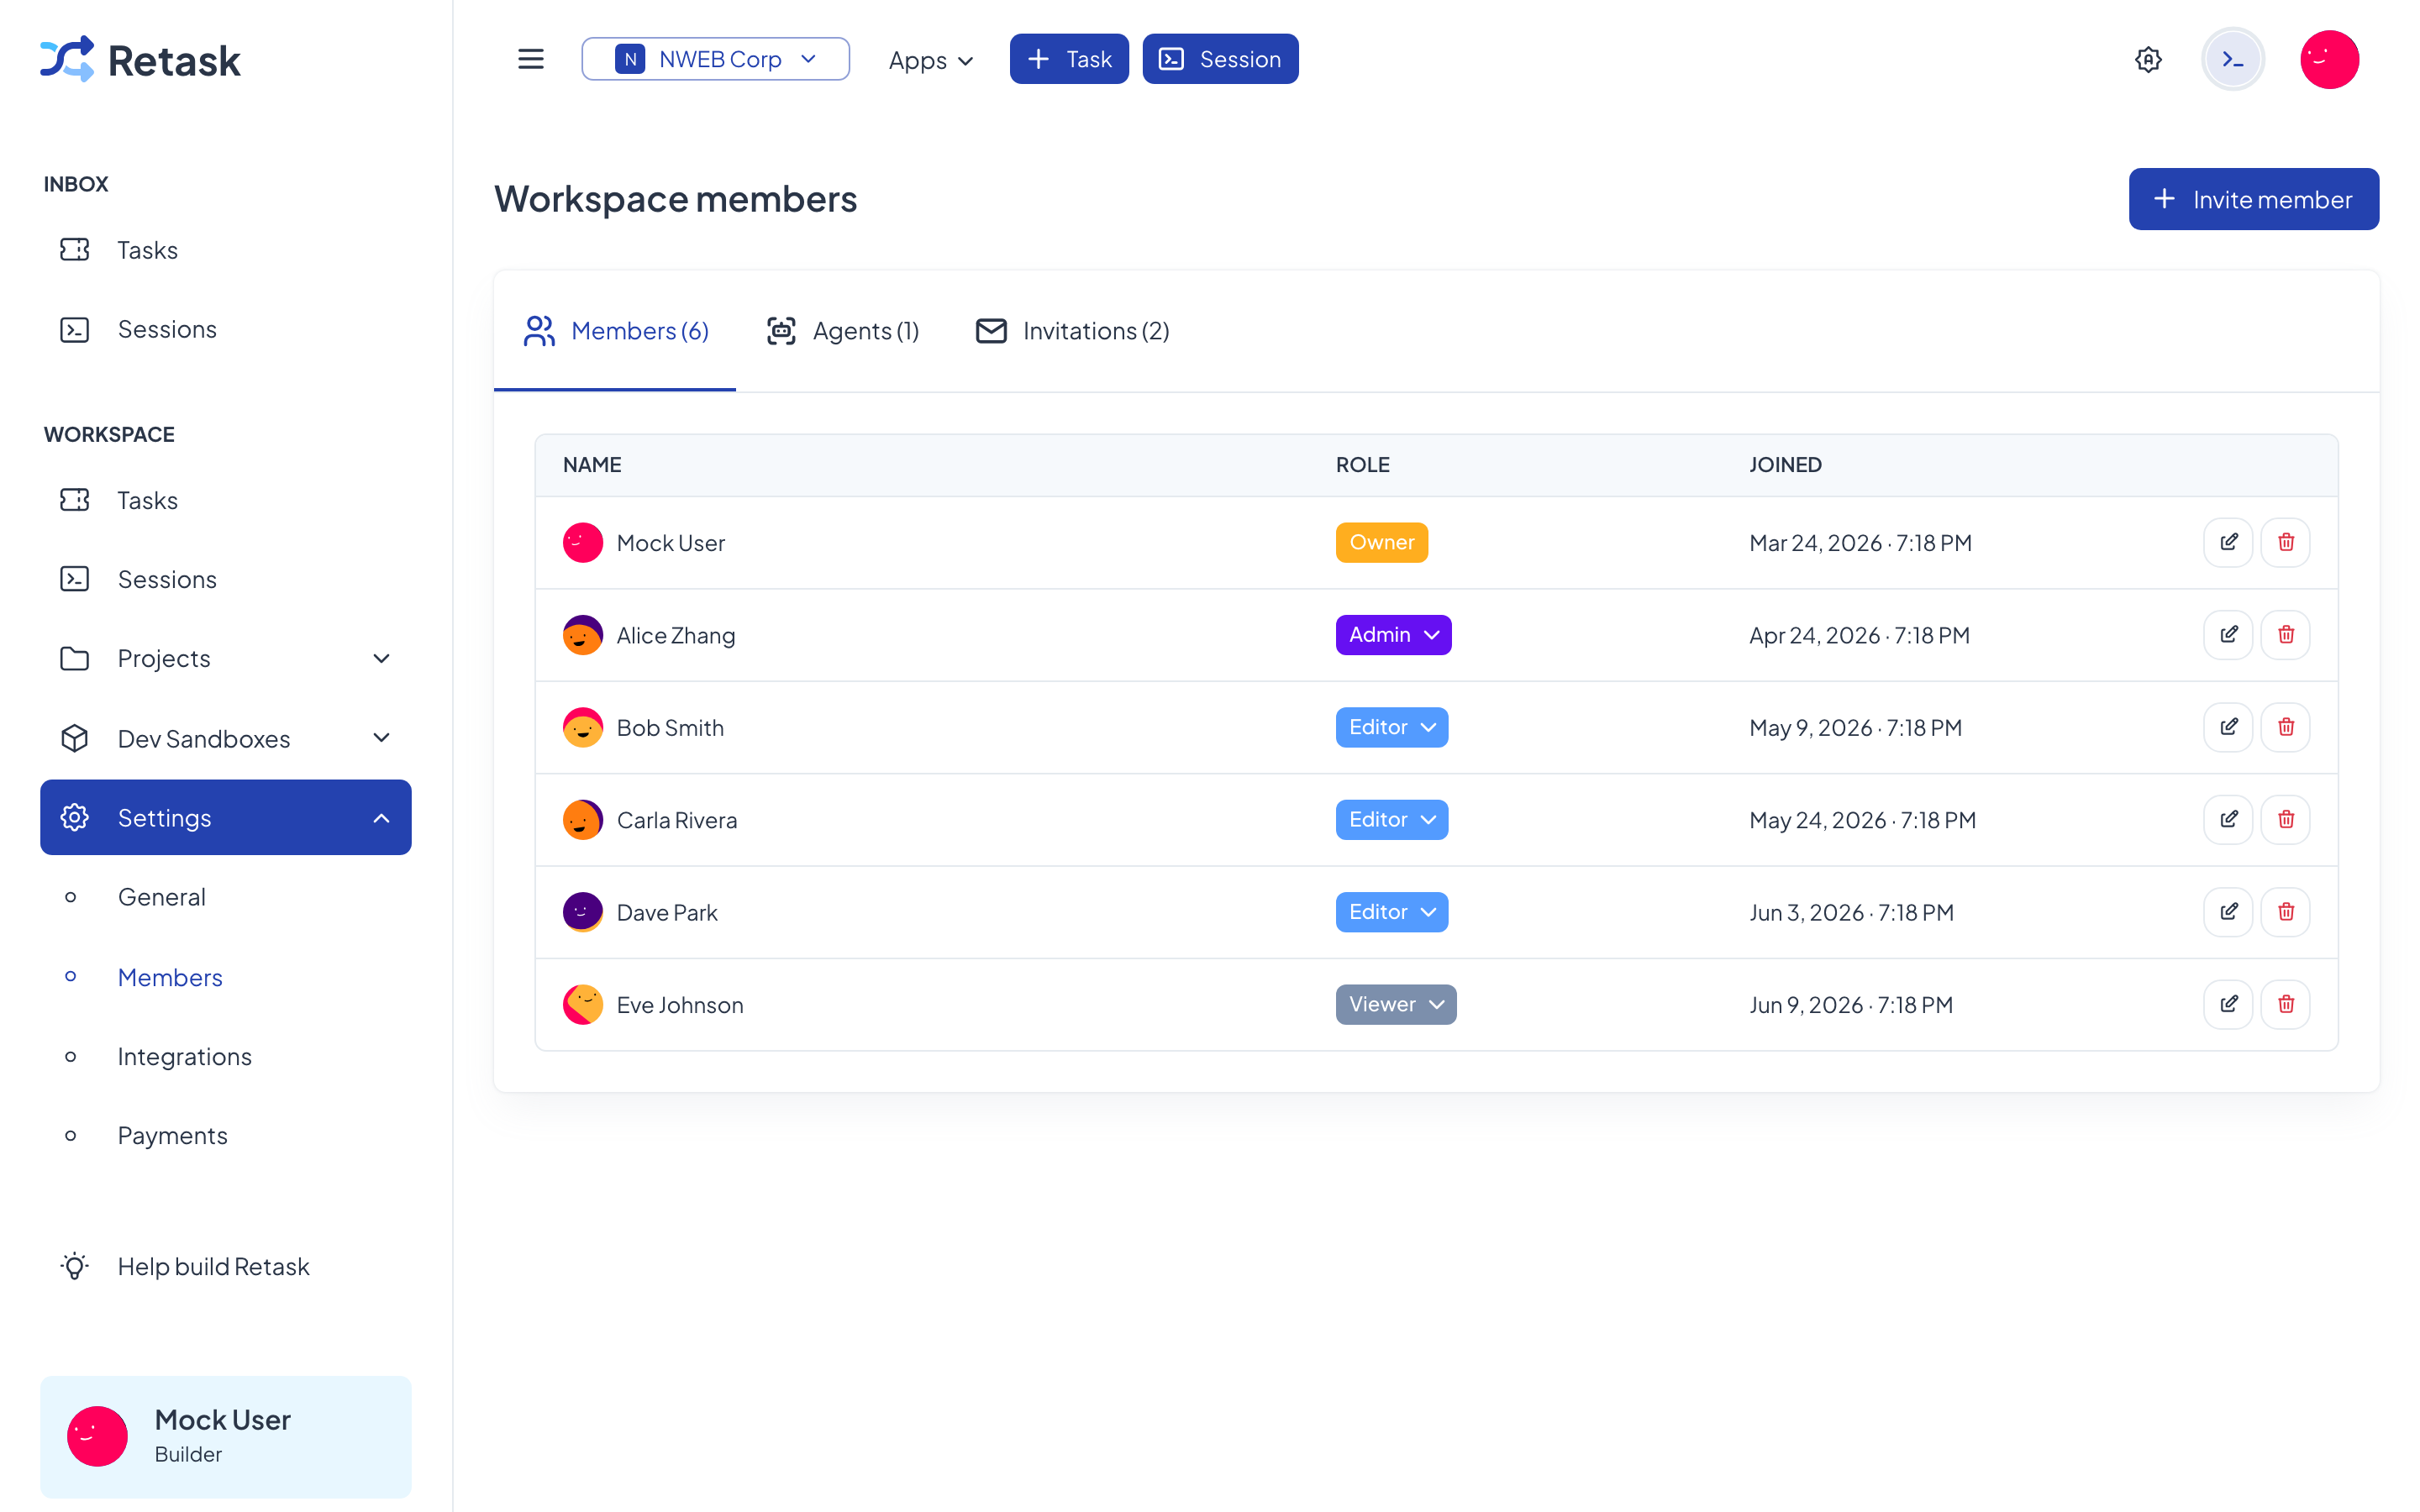
Section titled “3. Invite your team”Bring in the people you work with. Each person gets a role that controls what they can do — Owner, Admin, Editor, or Viewer.
-
Go to Settings → Members.
-
Click Invite member and enter their email address.
-
Choose a role. Editor is the right choice for most teammates — they can create and change tasks. Use Viewer for people who only need to follow along.
4. Add an AI Agent
Section titled “4. Add an AI Agent”An Agent is an AI worker you can assign tasks to, just like a teammate. You configure it once by filling in a short form — there’s no separate template to wire up.
-
Go to Settings → Members → Agents and click New agent.
-
Fill in the basics: a name, an optional description, and a role — Task processor (acts on a task when its status changes) or Task planner (plans and assigns tasks automatically).
-
Choose when it runs and where: a trigger (for example, “when a task is assigned to this agent”) and an execution target (such as “run on any available sandbox”). Add any integrations it needs, and an optional agent prompt.
-
Save, and the agent appears alongside your human members, ready to be assigned work.
5. Create a task and assign it
Section titled “5. Create a task and assign it”Now put it all together: add a task and hand it to a person or your new agent.
Click + Task at the top, fill in a title and description, set a priority, and choose an assignee — a teammate or your AI Agent. Save, and it appears on the board.
retask task create \ --project-id <id> \ --title "Fix login bug" \ --priority HIGHTo have an AI Agent do the work, open the task and use the Task assistant menu — Plan this task or Process this task. The agent runs inside an isolated sandbox and opens a session you can watch live. The full flow is covered in Run an AI Agent on a task.
Where to go next
Section titled “Where to go next”- Read the Concepts page for the mental model behind everything.
- Walk through the headline flow: Run an AI Agent on a task.
- Dig into Workspaces, Projects, and Tasks.
- Automate everything from the terminal with the Retask CLI.