

Agents
An AI Agent is a worker you can assign tasks to, just like a teammate — except it’s powered by a coding AI. You configure one once by filling in a form, and from then on you can hand it work and watch it run.
Everything an agent needs lives on the agent itself — its role, when it runs, which integrations it can use, and how its environment starts up. There’s no separate “template” to attach; you fill in the details directly when you create the agent.
Where agents live
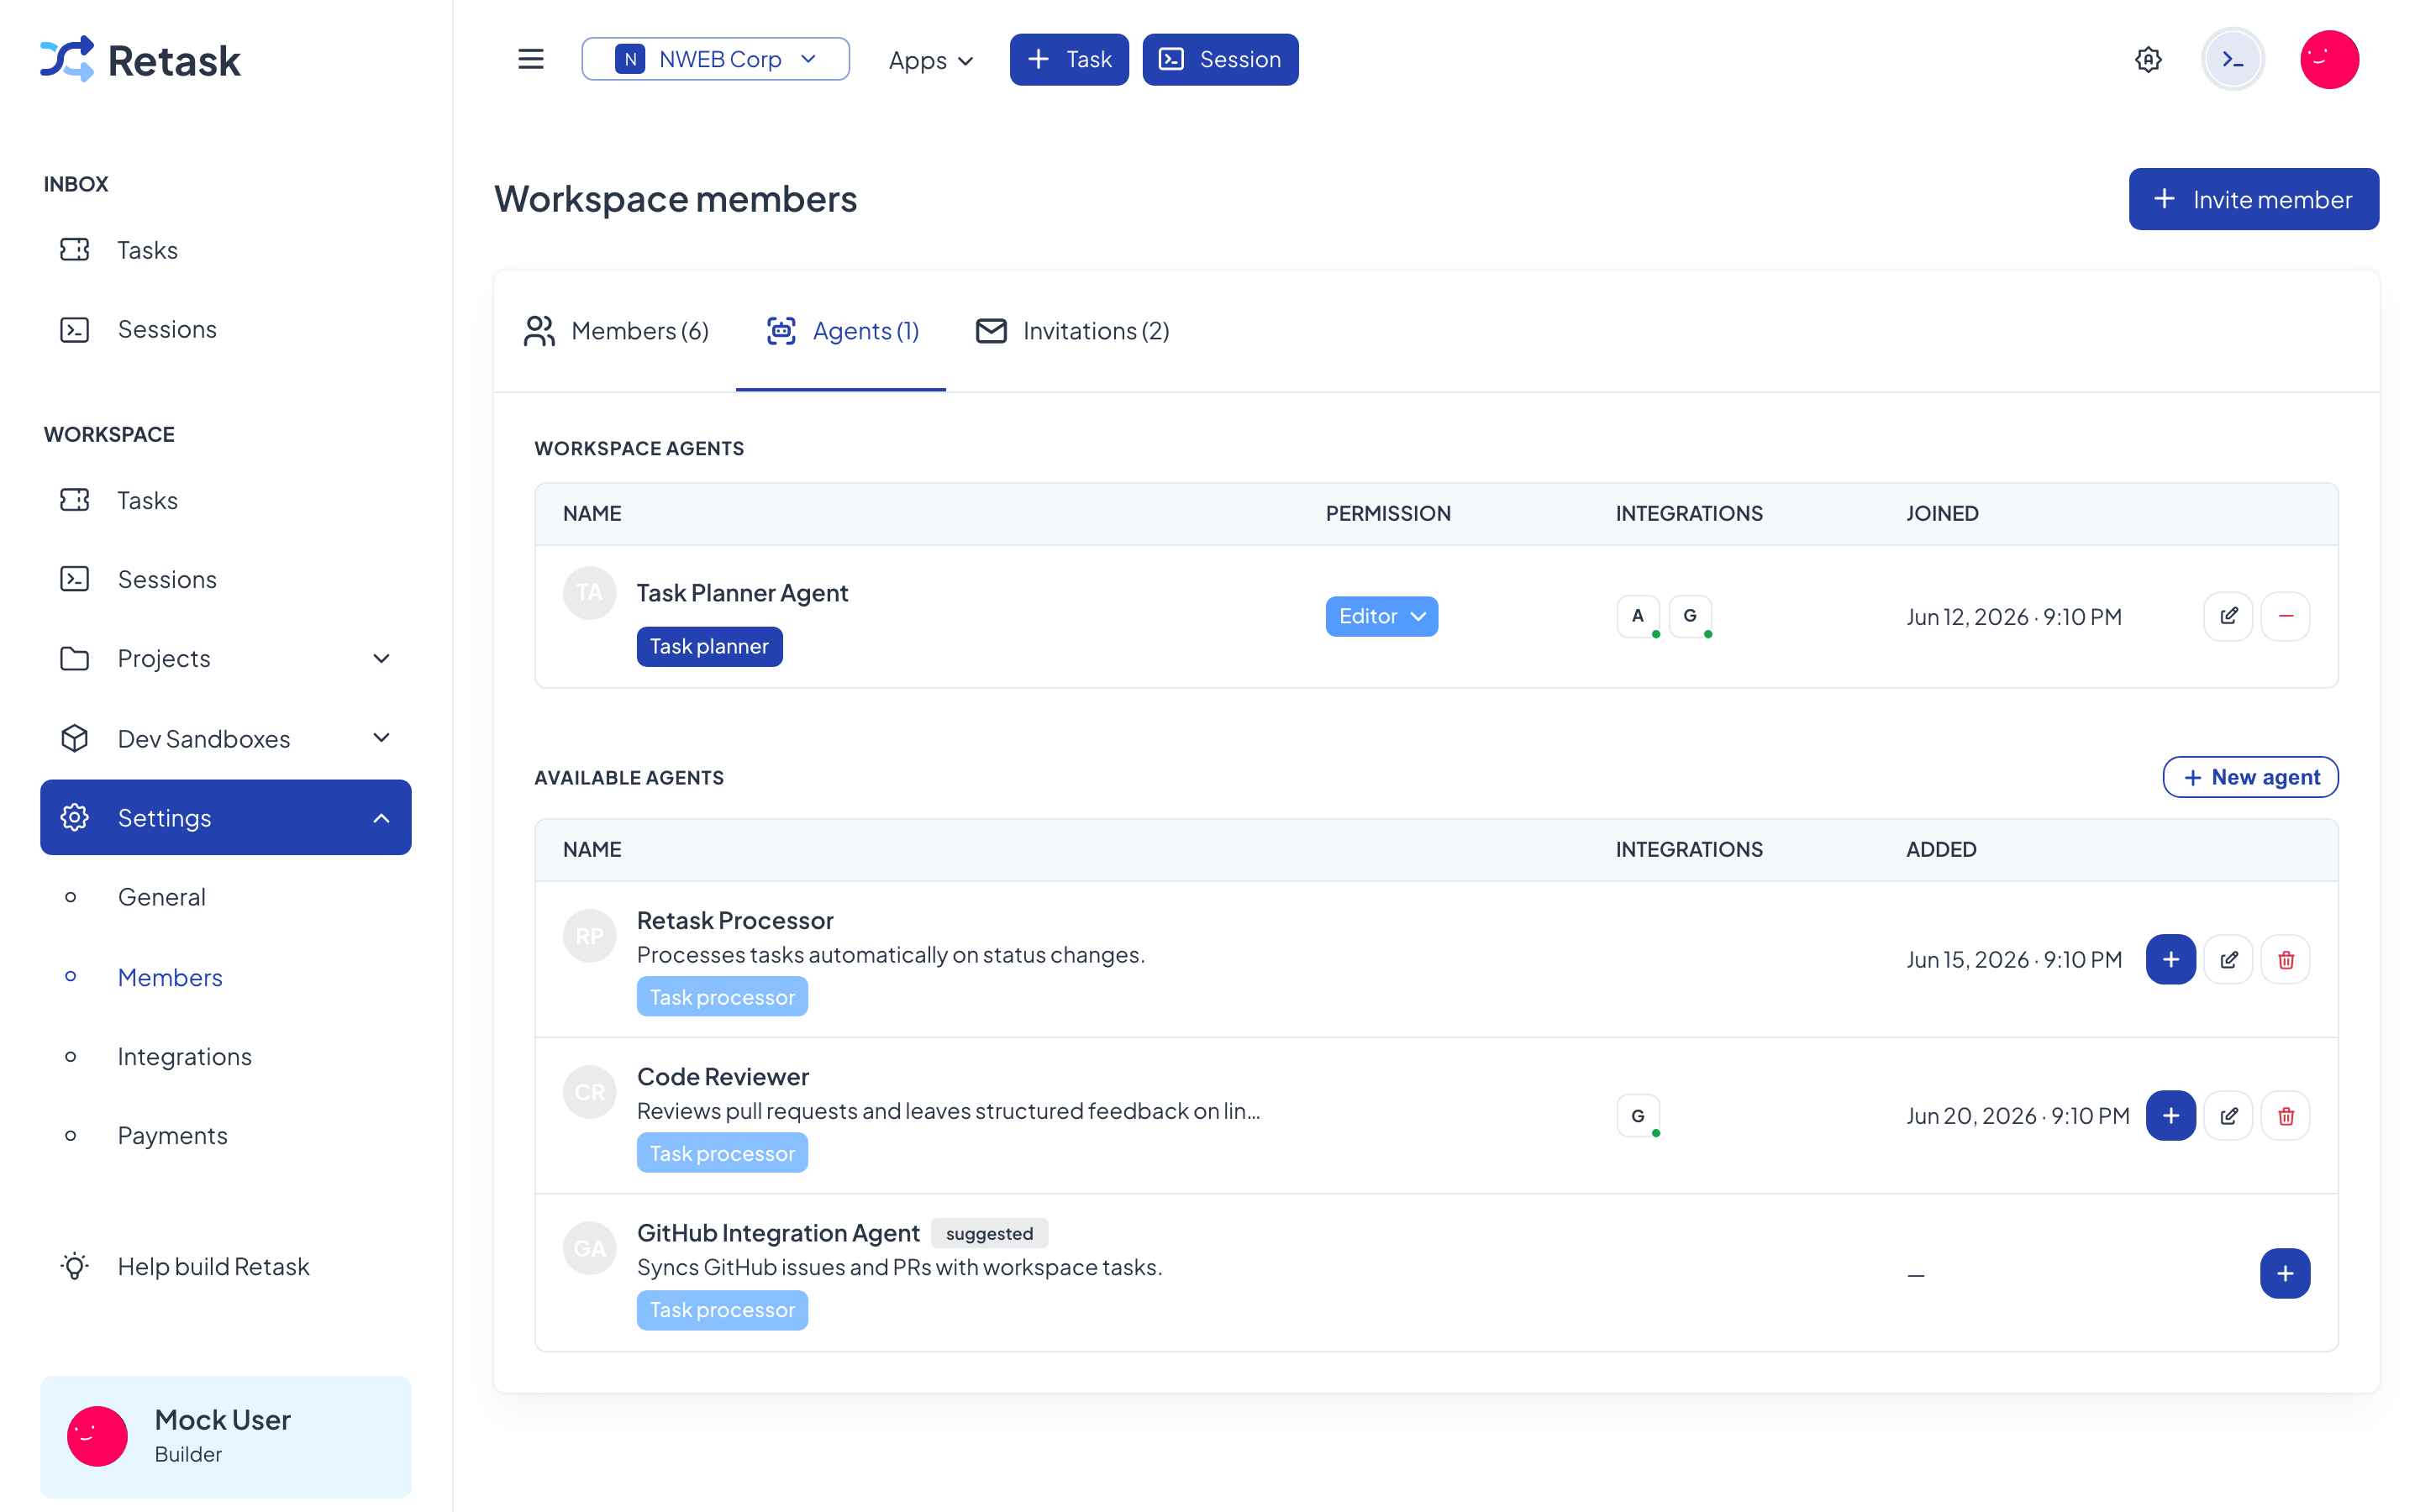
Section titled “Where agents live”Agents appear right alongside your human teammates under Settings → Members, on the Agents tab. That’s deliberate — to Retask, an agent is just another member of the workspace that happens to be a machine. The tab has two parts:
- Workspace agents — the agents you’ve added, each with a permission level and any connected integrations.
- Available agents — a catalog of ready-made agents you can add with one click, plus a New agent button to build your own.
Create an agent
Section titled “Create an agent”Go to Settings → Members → Agents and click New agent. The form has a Basic tab for the essentials and an Advanced tab for fine-tuning.
-
Name and an optional description — give it a clear name like “Claude · Web” so you know what it’s for.
-
Role — choose what kind of worker it is:
- Task processor — acts on a task when its status changes.
- Task planner — plans and assigns tasks automatically.
-
Trigger — when the agent runs. For example, Manual — triggered when a task is assigned to this agent.
-
Execution target — which sandbox the agent runs in. Run on any available sandbox is the simplest choice; see Execution target below.
-
Integrations — connect the services the agent needs (see Integrations).
-
Agent prompt — optional text added to the agent’s system prompt to steer how it works.
Execution target
Section titled “Execution target”Execution target decides where the agent’s work actually runs — which sandbox hosts the session it opens. There are two answers:
- Run on any available sandbox — Retask picks one for you. The simplest choice, and the right one until you have a reason to care.
- A named sandbox — pin the agent to one specific environment. Every task it picks up runs there.
Pinning is what you want when the agent needs something only one machine has: particular tooling, a licence, network access, or the AI subscriptions signed in on a Private VM. Connect your own machine and select it here, and the agent works on your hardware, with your logins, instead of on a Cloud sandbox billed per token.
Advanced
Section titled “Advanced”The Advanced tab is optional — the defaults work for most agents. It lets you set:
- Sandbox startup command — runs once when the sandbox boots (for example,
yarn install && yarn generate). - Shutdown policy — when the sandbox shuts down (for example, Smart shutdown).
- Session system prompt — keep Retask’s default (recommended, so the agent knows how to interact with Retask) and optionally append your own.
- Session init command — runs at the start of each session.
Put an agent to work
Section titled “Put an agent to work”Once an agent exists, open a task and run it from the Task assistant menu: Plan this task uses a Task planner agent, Process this task uses a Task processor agent. The agent runs inside a sandbox and opens a session you can watch live. The full walkthrough is in Run an AI Agent on a task.
Edit or remove an agent
Section titled “Edit or remove an agent”From the Agents tab you can edit an agent’s settings, change its permission, or remove it. Removing an agent stops it from being assigned new work; the tasks and sessions it already produced stay put.
retask agent listretask agent create --name "Claude · Web" --role ROLE_TASK_PROCESSORretask agent update <id> --name "New Name"retask agent delete <id>